
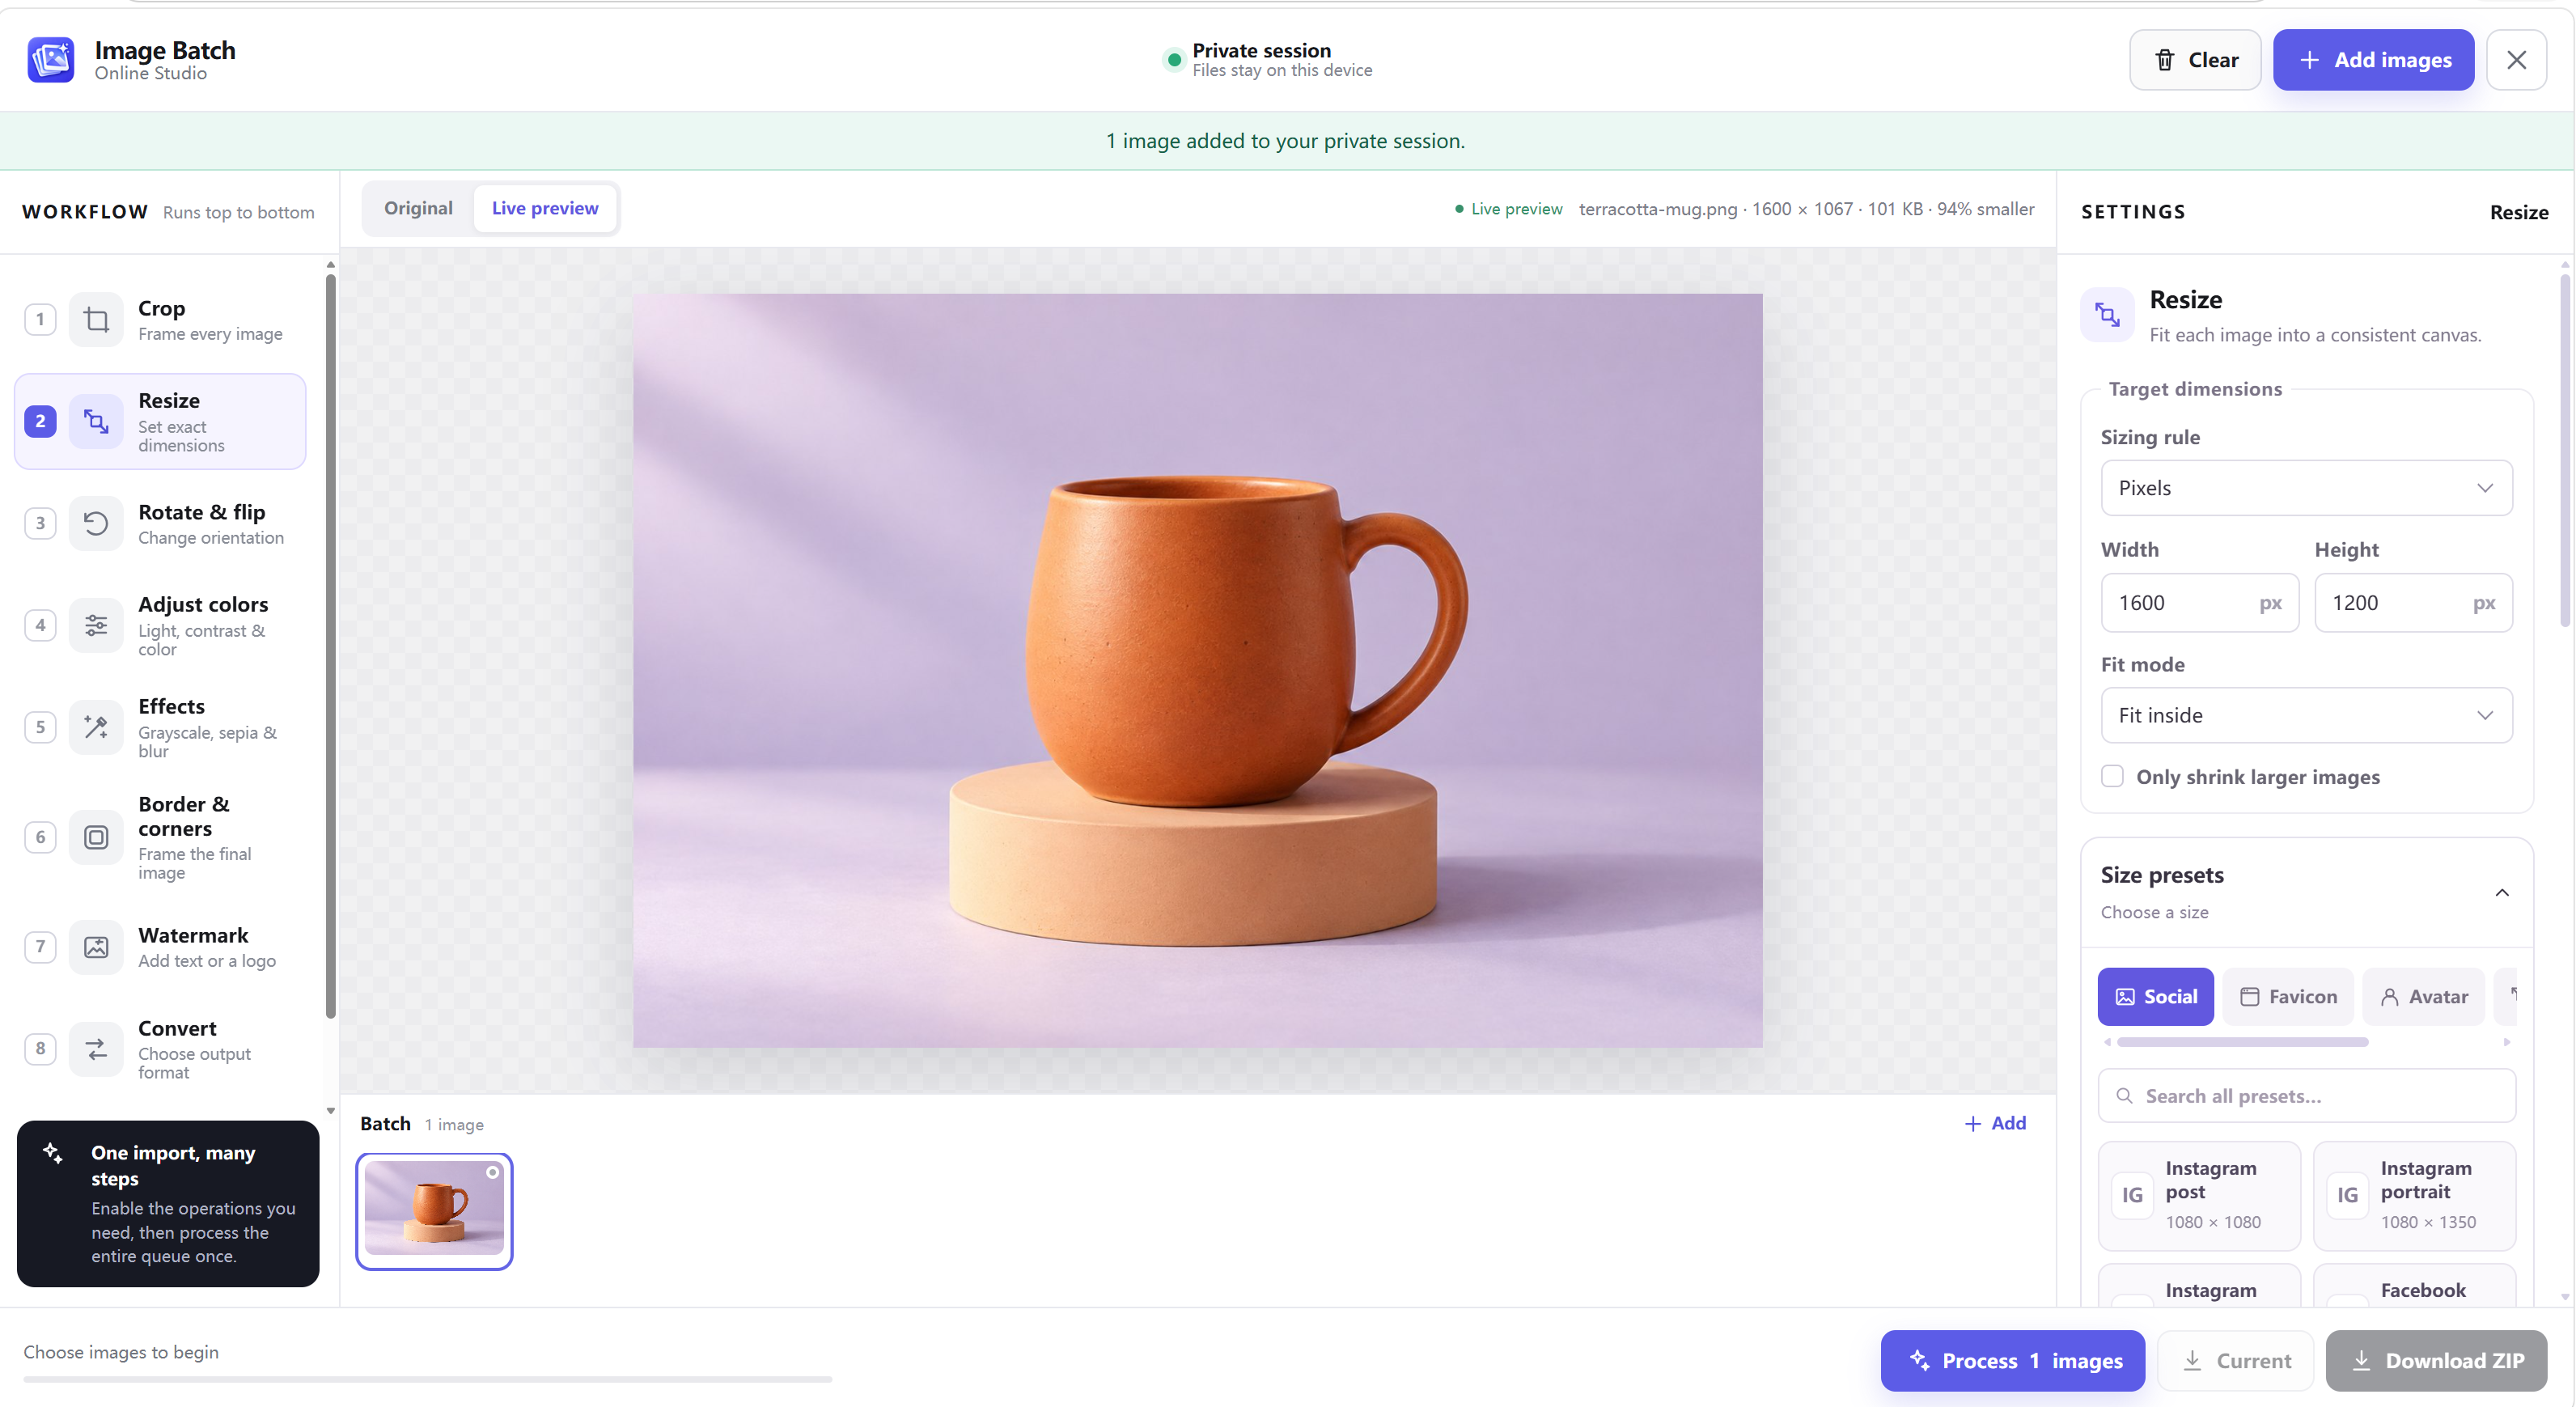
A tidy product grid starts with a clear image rule, not just a smaller file. A tall bottle, a wide shoe, and a square box can share the same output dimensions while still needing different compositions. Batch image resizing handles the repeated work; individual crop adjustments keep each product in the right place.
Choose the final listing shape first
Check the destination’s current image requirements before editing. A square tile might call for 1200 × 1200 pixels; an editorial product layout might use a 4:5 portrait. These are example canvases, not universal marketplace specifications. Use the same ratio across one listing group unless the design deliberately uses mixed shapes.
Avoid starting with the largest possible dimensions. Choose enough pixels for the actual display and inspect small text or fine product detail at the intended viewing size. Keep original camera files separately so you can make another export later.
Decide between fit, fill, and stretch
The batch image resizer offers different ways to interpret a width and height:
| Rule | What happens | Useful when |
|---|---|---|
| Fit inside | Keeps the full image and aspect ratio within the boundary | The whole product must remain visible |
| Fill & center crop | Keeps proportions and trims overflow to the target box | Every listing needs identical dimensions |
| Stretch | Forces the entered dimensions and can change proportions | The source already matches the final ratio |
A 3000 × 2000 source fitted inside 1200 × 1200 becomes 1200 × 800. Filling the same square produces 1200 × 1200 but removes side content. Fit does not add a square background automatically; it returns a proportional image.
Refine the crop before resizing
For products away from the center, enable Crop before Resize. Draw the desired ratio around the first product and apply that frame to the batch. Then select each thumbnail and adjust its frame independently. The default batch-plus-per-image mode supports this combination.
Finish applying the shared template before making individual corrections. Applying a new frame to the batch clears those corrections. Our individual crop workflow explains that distinction in more detail.
Use presets as starting points
Size presets save typing, but a familiar platform name is not a substitute for checking the destination. Image Batch includes searchable Social, Avatar, Favicon, Screen, and Print preset groups. You can select a preset and then edit the dimensions for your store’s actual slot.
Enable Only shrink larger images if smaller originals should not be enlarged. That can leave some outputs below your target dimensions. If identical dimensions are mandatory, separate undersized originals and decide whether to replace them rather than silently accepting a soft enlarged product photo.
Export, inspect, then process the set
For ordinary opaque photos, test JPEG or WebP against your publishing system. Choose PNG when transparent pixels are needed. Enable compression after resizing and judge the encoded bytes rather than a quality number alone.
Review at least a tall product, a wide product, and an image with small labels. Check margins, dimensions, fine text, and visible compression artifacts. The live preview covers the selected photo; Process images creates the complete output queue. Download a representative result first, then save the batch ZIP.
If an upload form imposes a tight byte limit, continue with compressing a batch toward 100 KB. A shared canvas and a measured byte budget are separate requirements, so verify both before publishing.